
E+H Mass Flowmeter Density Parameter Setting and Calibration Guide
In applications where E+H mass flowmeters measure density, correct parameter setting and on-site calibration are crucial. This article introduces step by step how to use the instrument keys to modify units, configure display settings, set current output ranges, and perform density calibration, helping engineering technicians quickly master the setup methods.
I. Entering the Main Menu and Unit Settings
Press the E key to enter the main menu and begin configuring various parameters. To modify measurement units, follow these steps:
1.1 Modifying Mass Flow Units
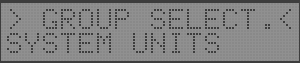
- In the main menu, press the + key to select the SYSTEM UNITS menu.
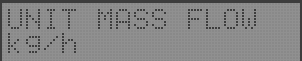
- Press the E key to enter, press the + key to modify the mass flow unit, and press the E key to confirm.
- If no modification is needed, press the E key directly to proceed to the next parameter.


1.2 Modifying Density Units
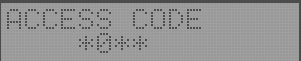
When modifying the density unit, you need to enter password 80. The specific steps are as follows:
- On the density unit setting screen, press the + key or - key to modify the unit.
- Press the E key to confirm. The instrument then prompts for a password; press the + key or - key to enter 80.
- Press the E key to confirm. If you do not need to modify the density unit, press the E key directly to proceed to the next parameter.

II. Display Settings
To facilitate on-site data reading, the display can be configured to show density and mass flow. The operation is as follows:
- In the main menu, press the + key to select the USER INTERFACE menu.
- Press the E key to enter, set the parameter displayed on the first line of the screen, and press the + key to change it to DENSITY.
- Press the E key to confirm, then press the E key to proceed to the next parameter.
- Set the parameter displayed on the second line of the screen, and press the + key to change it to MASSFLOW.
- Press the E key to confirm, then press the E key to proceed to the next parameter.





III. Current Output Range Settings
According to measurement requirements, the current output can be assigned to density or flow. The following describes how to set the two current outputs respectively.
3.1 Setting the First Current Output to Density Output
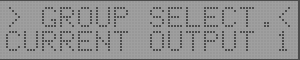
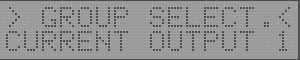
- Press the + key or - key to select the menu until CURRENT OUTPUT 1.
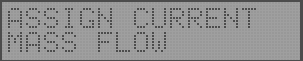
- Press the E key to enter, set the current output assignment, change it to DENSITY, and press the E key to confirm.
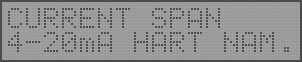
- Press the E key to proceed to the next parameter, set the density value corresponding to 4mA, press the + key to modify, and press the E key to confirm.
- Set the density value corresponding to 20mA, press the + key to modify, and press the E key to confirm.



3.2 Setting the Second Current Output to Flow Output
Note: Depending on the instrument model, some models do not have a second current output.
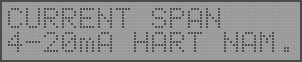
- Press the + key or - key to select the menu until CURRENT OUTPUT 2, and press the E key to enter.
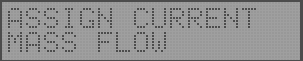
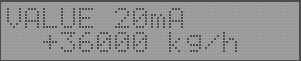
- Press the E key to proceed to the next parameter, set the range, press the + key or - key to modify, and press the E key to confirm.
IV. Density Calibration
Density calibration should only be performed when the user has a very good understanding of the fluid density (e.g., accurate and real-time laboratory analysis data). During calibration, the deviation between the fluid density and the instrument measured value must not exceed ±10%. If it exceeds this range, calibration can be performed in two or three steps.
4.1 Preparation Before Calibration
- Ensure the measuring tube is filled with medium and free of bubbles.
- If the medium is newly added, wait until the temperature of the measuring tube and the medium are consistent before calibration.
4.2 Calibration Steps
- Press the E key to enter the main menu.
- Press the + key or - key to select the density calibration main menu PROCESSPARAMETE.
- Press the E key to enter, and keep pressing the E key until the DENSITY SET VAL1 parameter appears, where the laboratory density value of the medium needs to be entered.
- When entering the laboratory density with the + key or - key, the instrument prompts for the modification password 80; press the + key or - key to enter it.
- Enter the medium density, for example, enter density 1000kg/m³. The input range is ±10% of the instrument measured density value.
- After pressing the E key to confirm the input, the instrument proceeds to the next parameter MEASURE FLUID 1.
- Press the + key or - key to select START, press the E key to confirm. The instrument then displays RUNNING for about 10 seconds, measuring the current medium density.
- After measurement is complete, the instrument returns to the position in step 6. Press the E key to confirm, go to the DENSITY ADJUST parameter, press the + key or - key to select START, and press the E key to confirm.
- Change CANCEL to START, and press the E key to confirm. At this point, density calibration is complete. Press the + key and - key simultaneously to return to measurement mode.







V. Precautions
- Before density calibration, ensure the measuring tube is filled with medium and free of bubbles.
- The entered density value must be within ±10% of the instrument measured value; otherwise, stepwise calibration is required.
- When modifying the density unit or performing calibration, password 80 must be entered.
- Some instrument models do not have a second current output; please operate according to the actual configuration.