
Getting Started with RSG35 Recorder Operation
After the RSG35 data recorder is wired, connect the power supply to begin operation. The device is equipped with only one jog dial knob; rotate to select and press to confirm. The slot below the display supports connection of a USB data cable, network cable, and SD card.
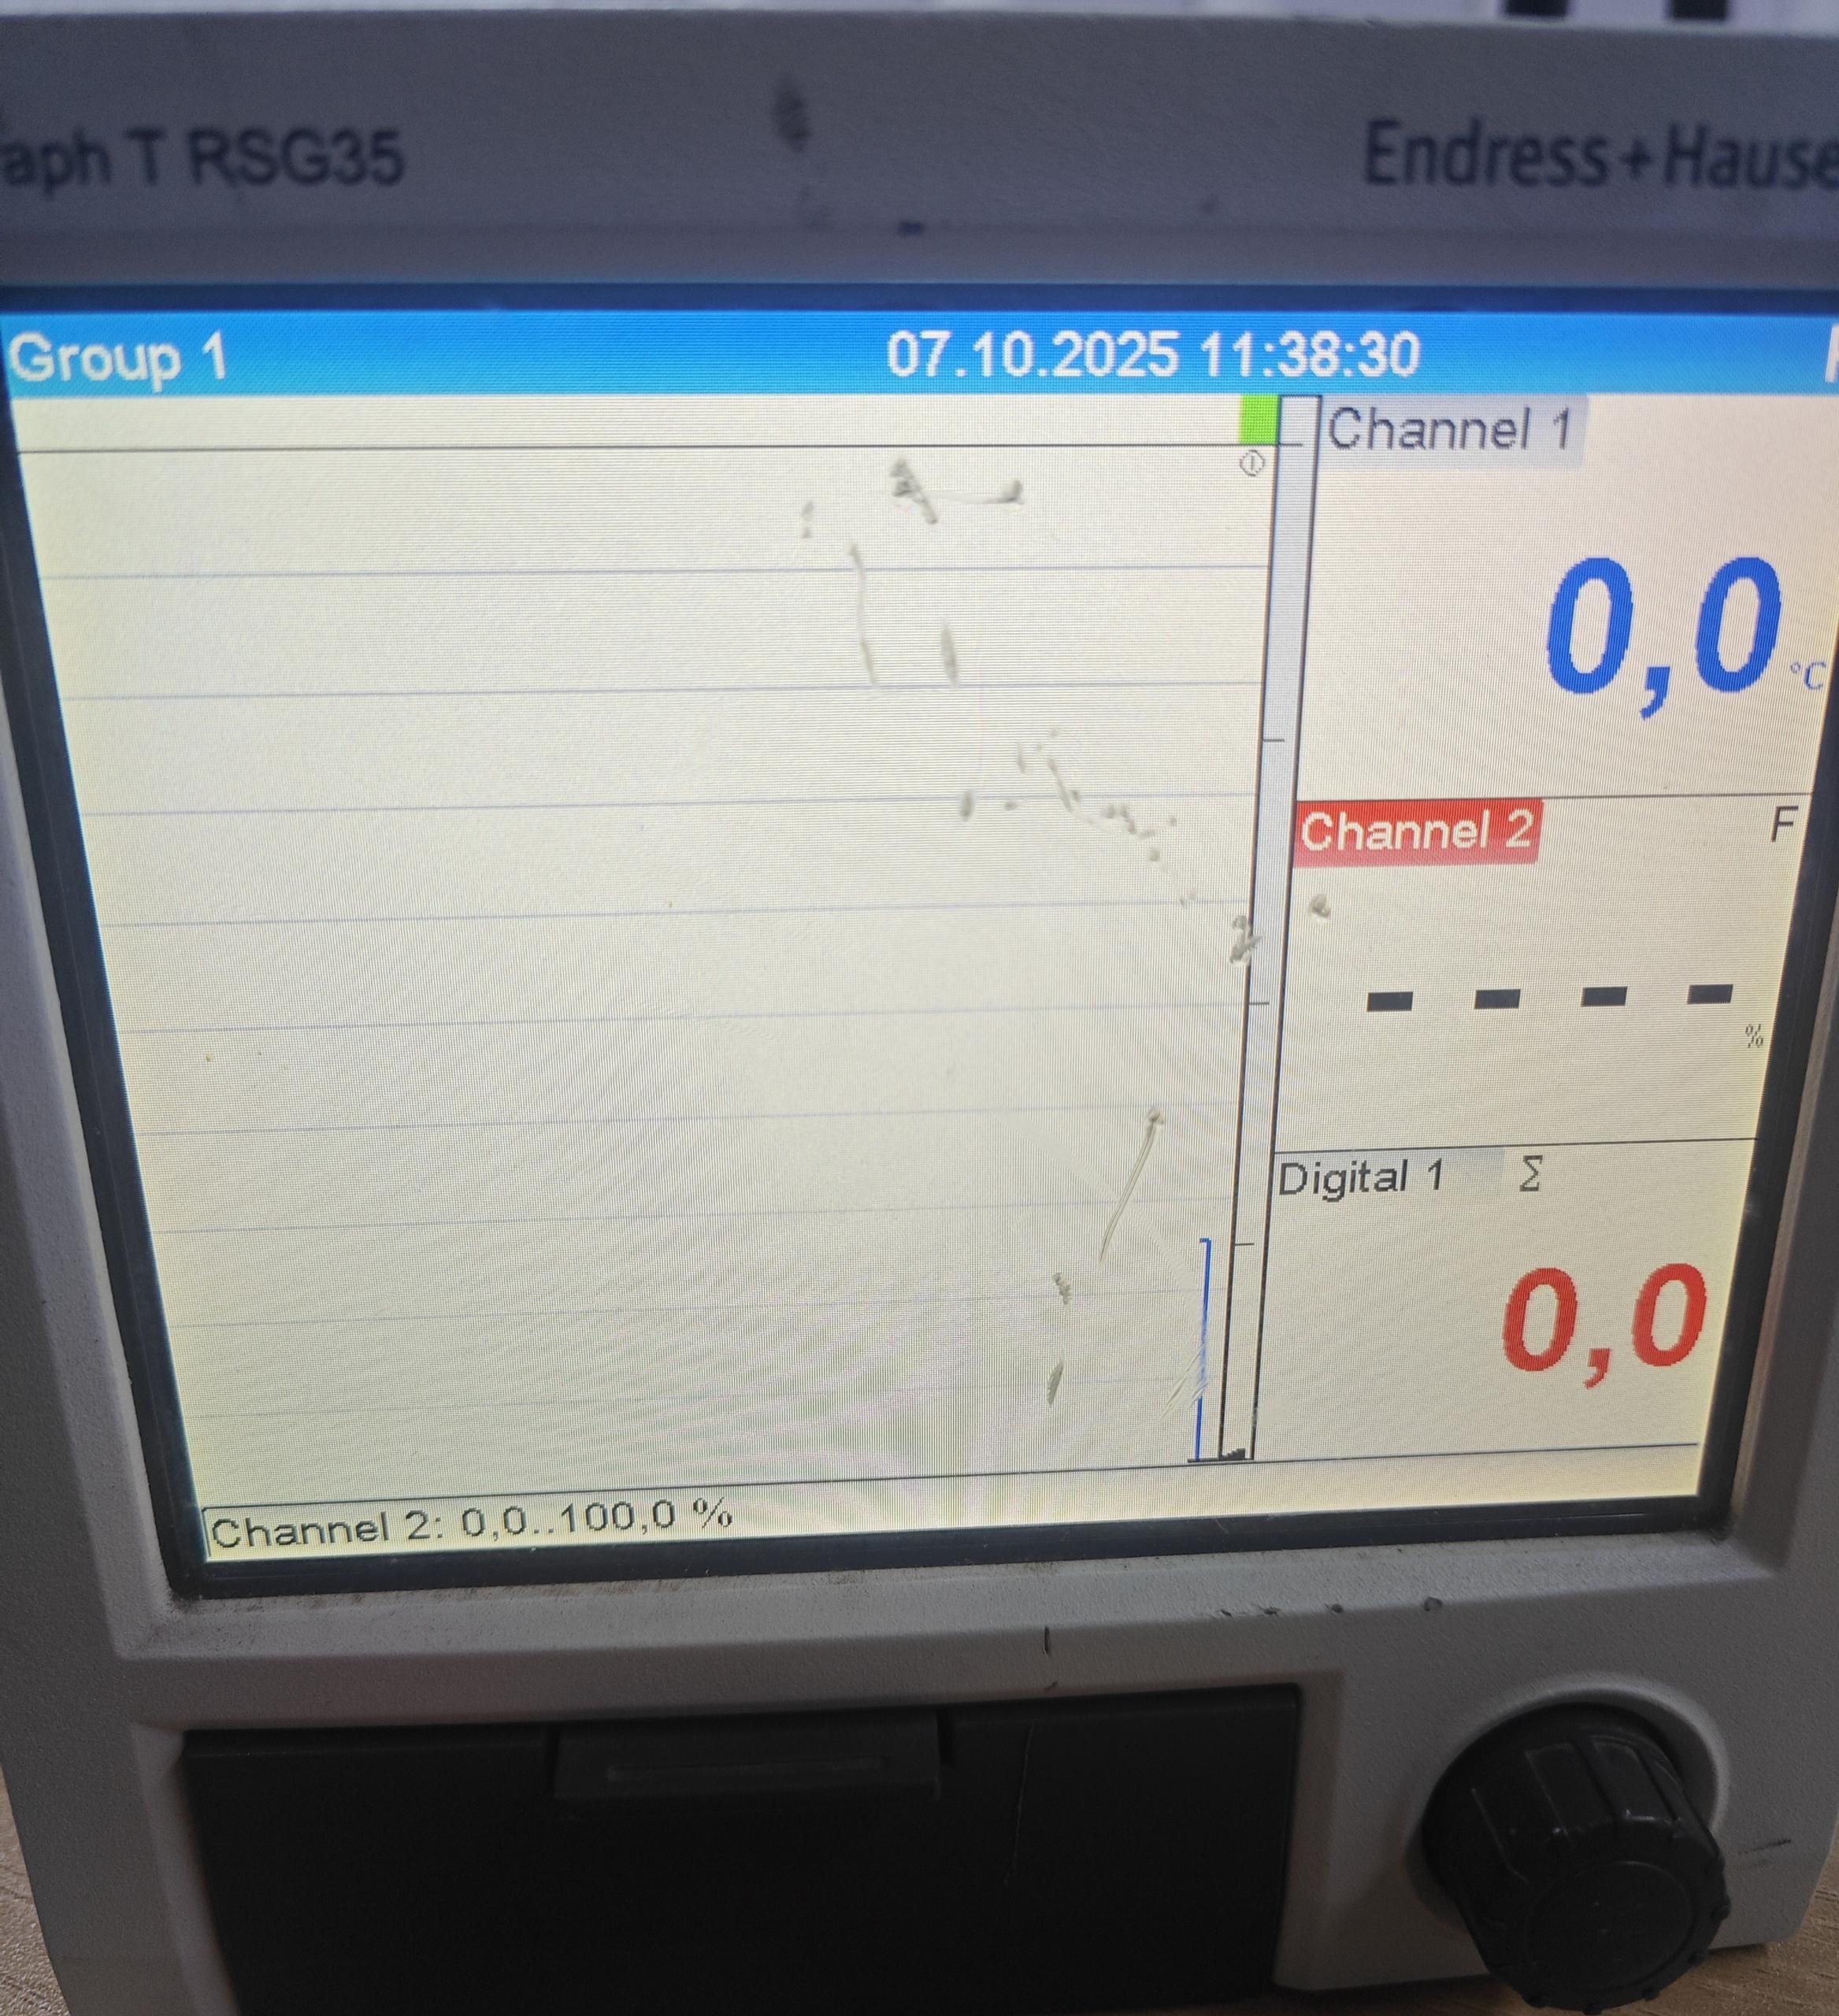
Main Measurement Interface and Menu Navigation
On the main measurement interface, the right side displays measured values and measurement channels, and the left side displays the measured value curve graph. Press the knob to enter the main menu.
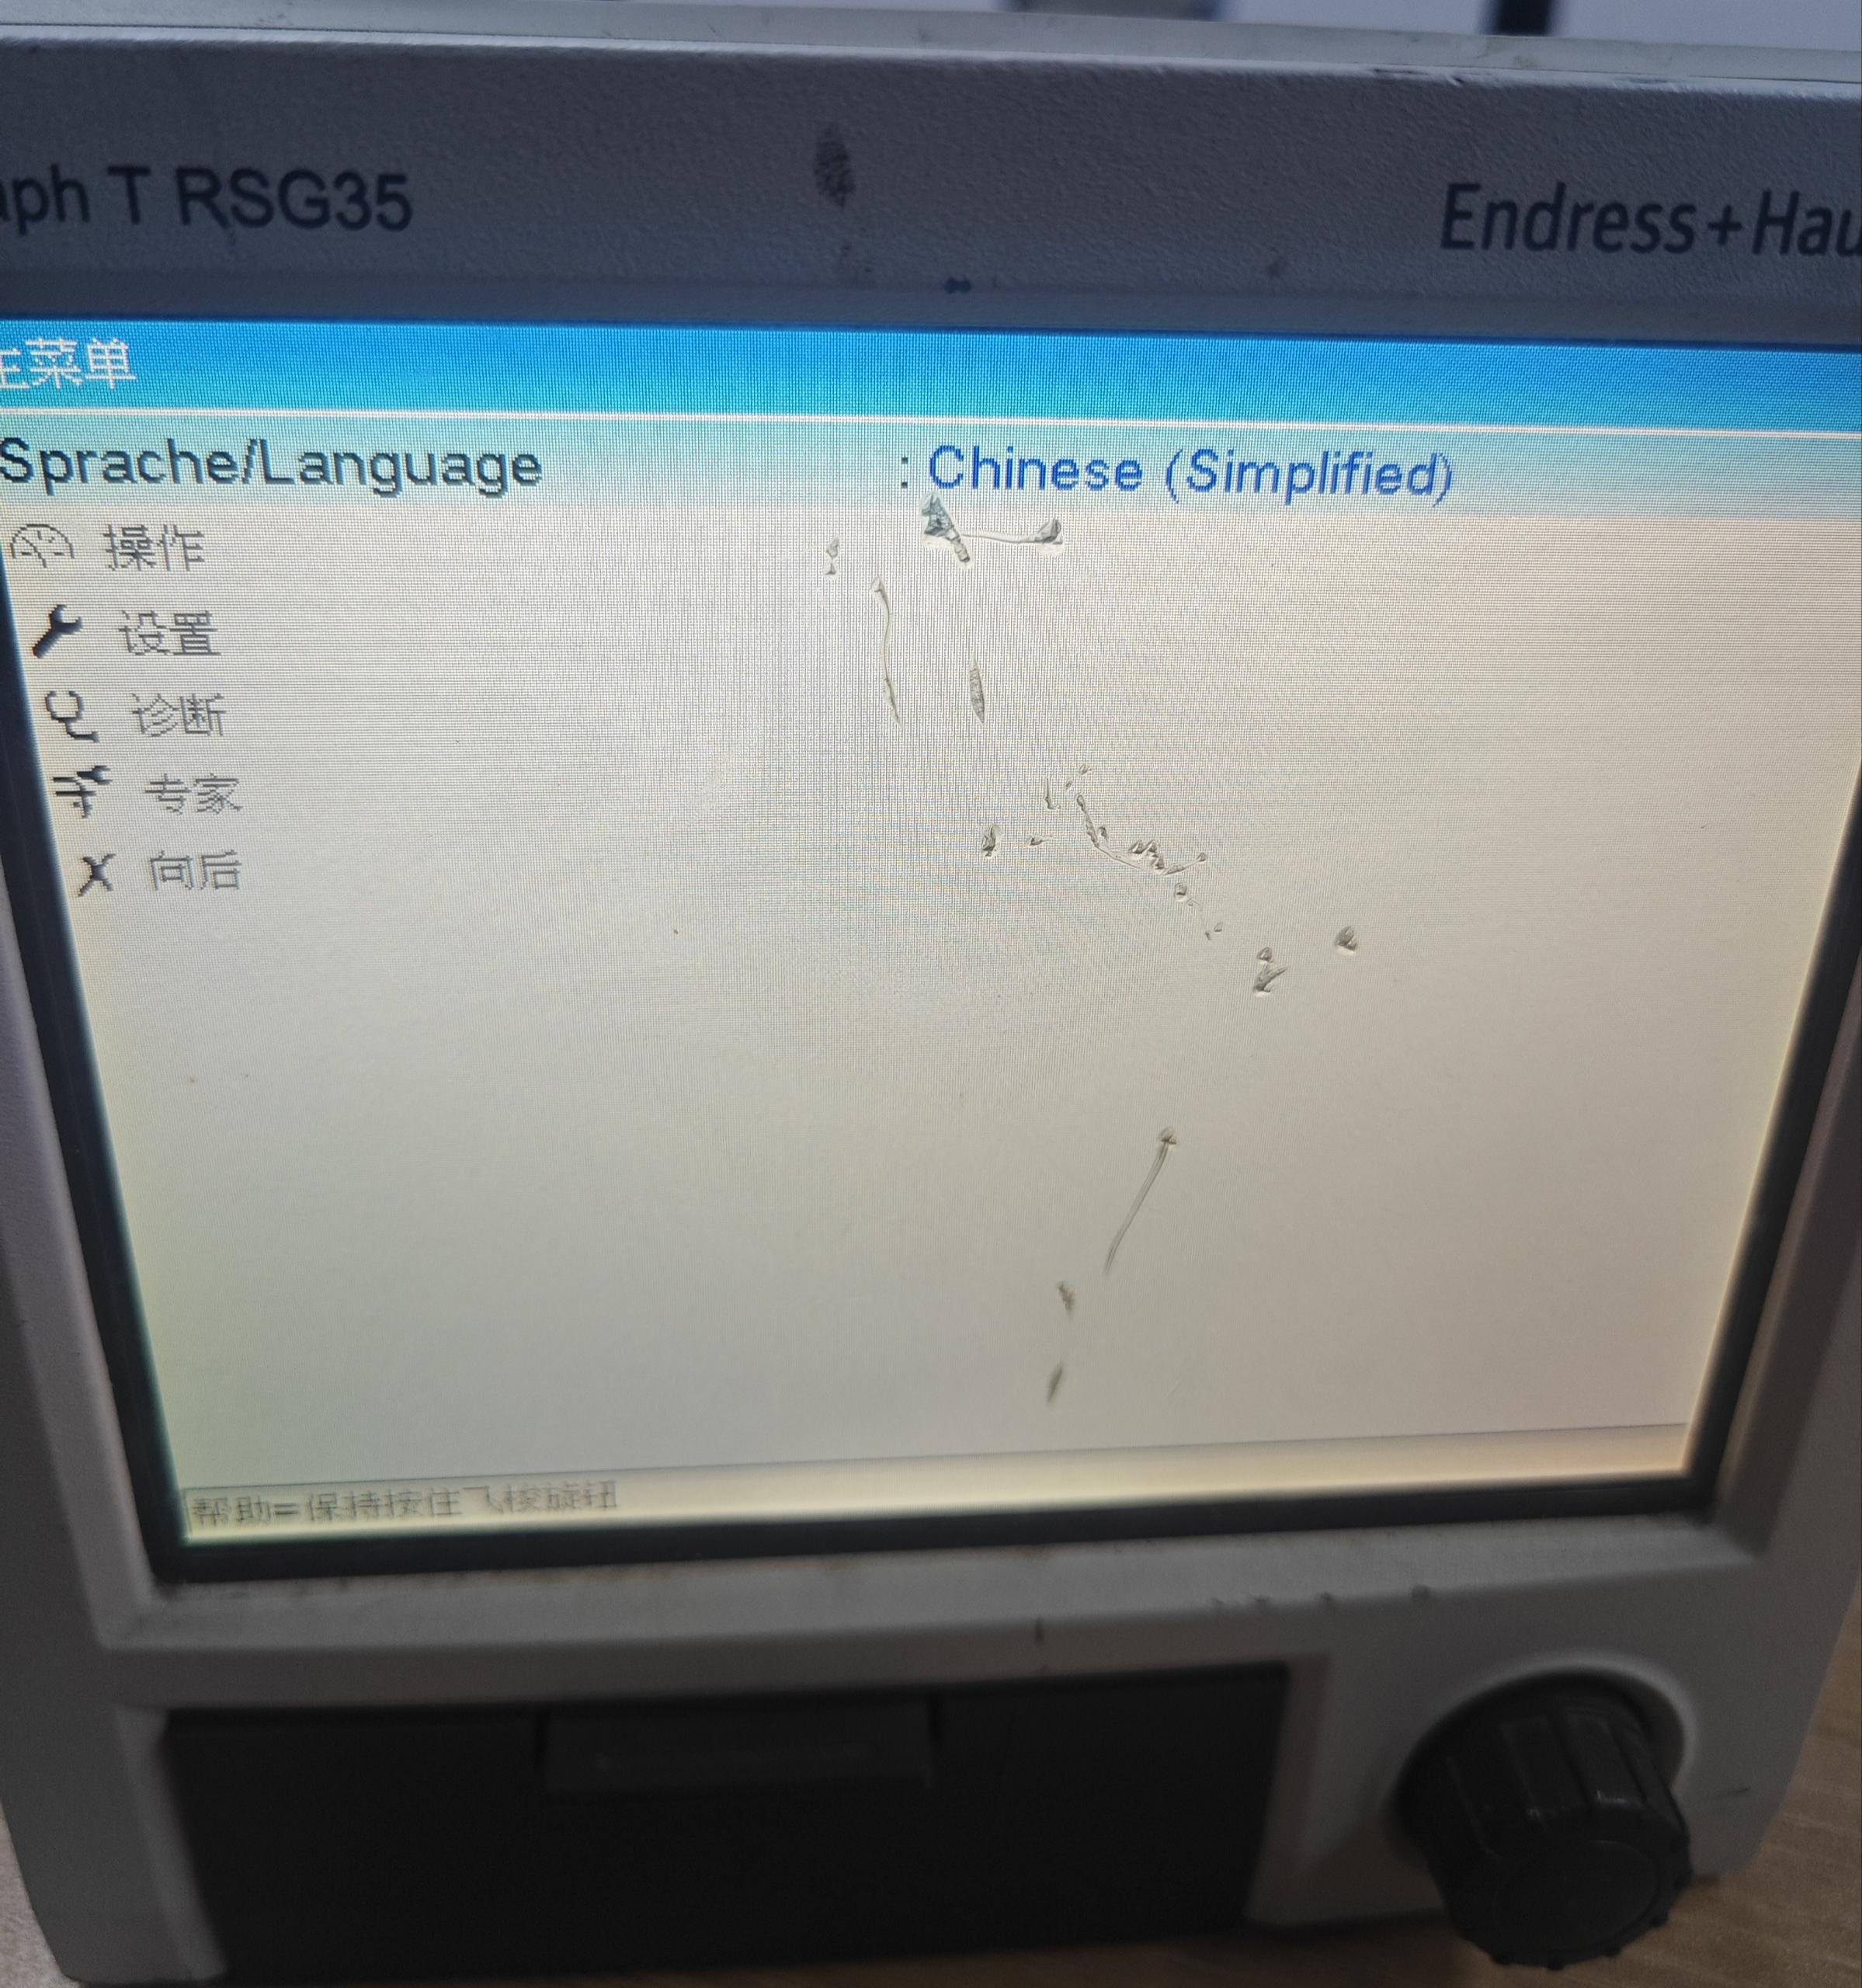
Language Settings
After entering the main menu, find the language option and change the language as needed. Rotate the knob to select and press the knob to confirm.
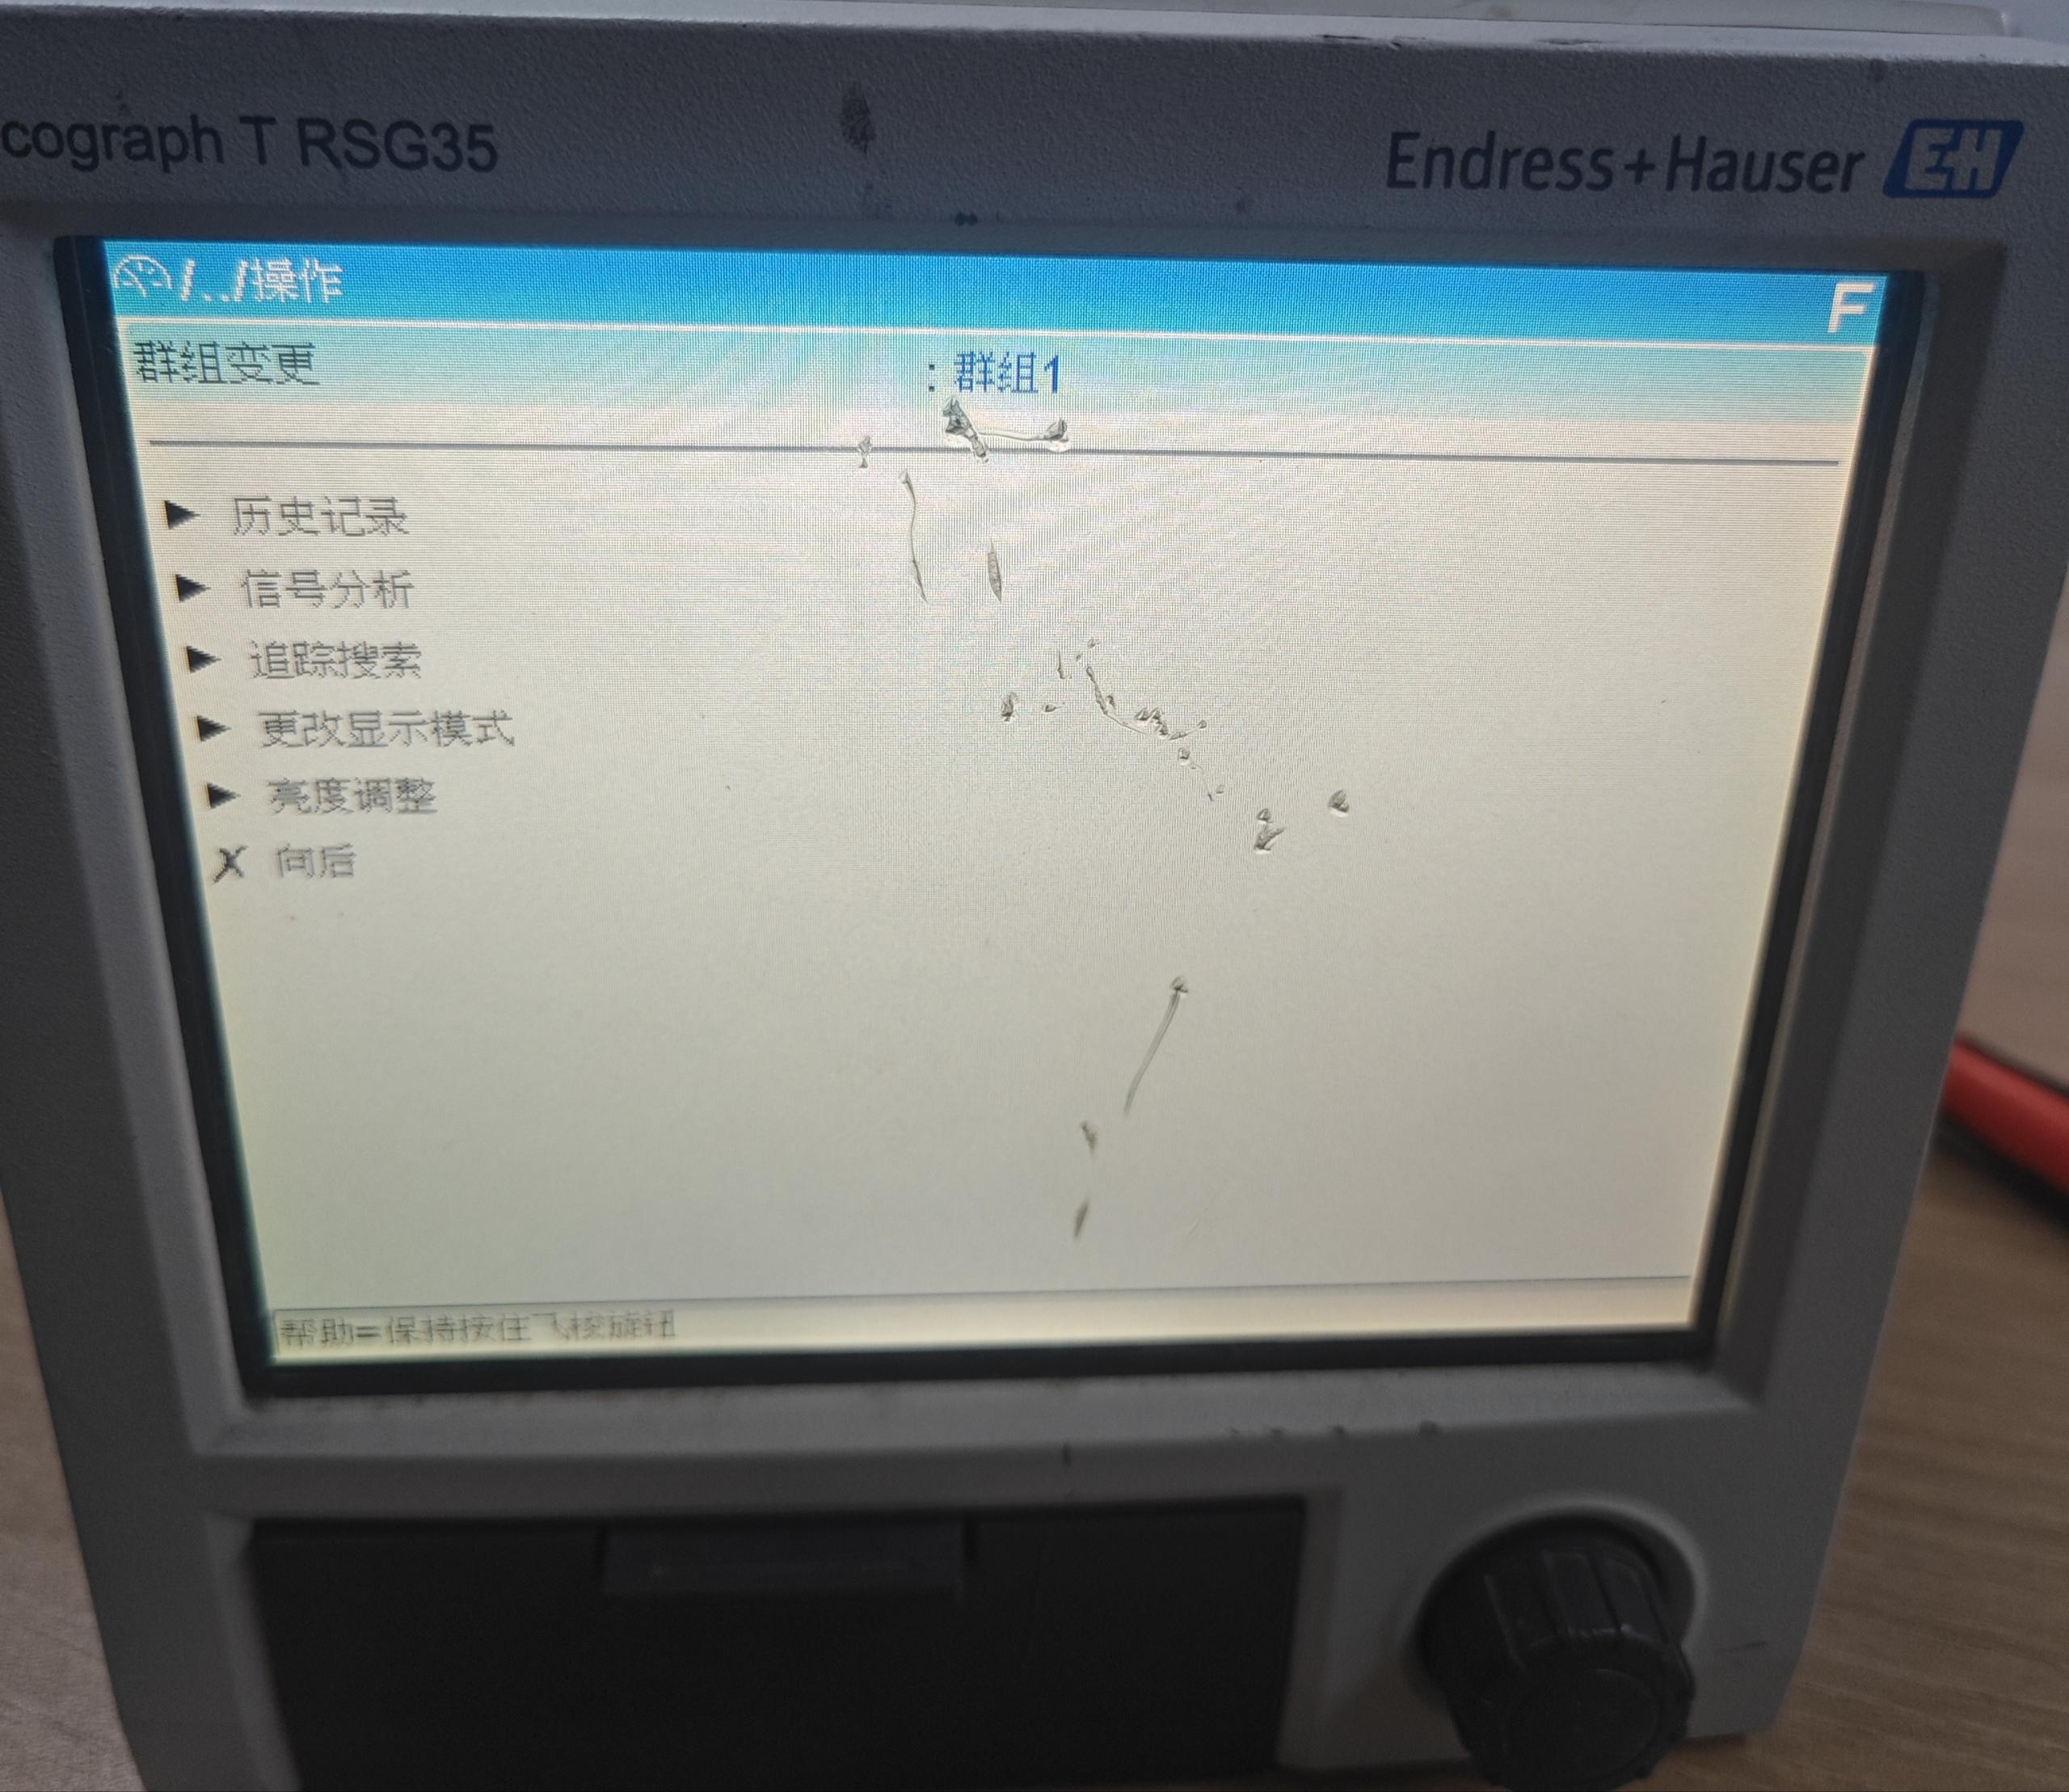
Operation Settings
In operation settings, you can view historical records, perform signal analysis, tracking search, change the display mode, and adjust brightness.
- Historical records: View historical values and curve changes measured by the meter.
- Signal analysis: Analyze measurement signals for the current day, month, or year, and also search for specific signals for analysis.
- Tracking search: Search within a range for events sent by the data recorder; users can search for events as needed.
- Display mode: Change the circuit diagram display on the left side of the screen and select the corresponding display method.
- Brightness adjustment: Freely adjust display brightness.
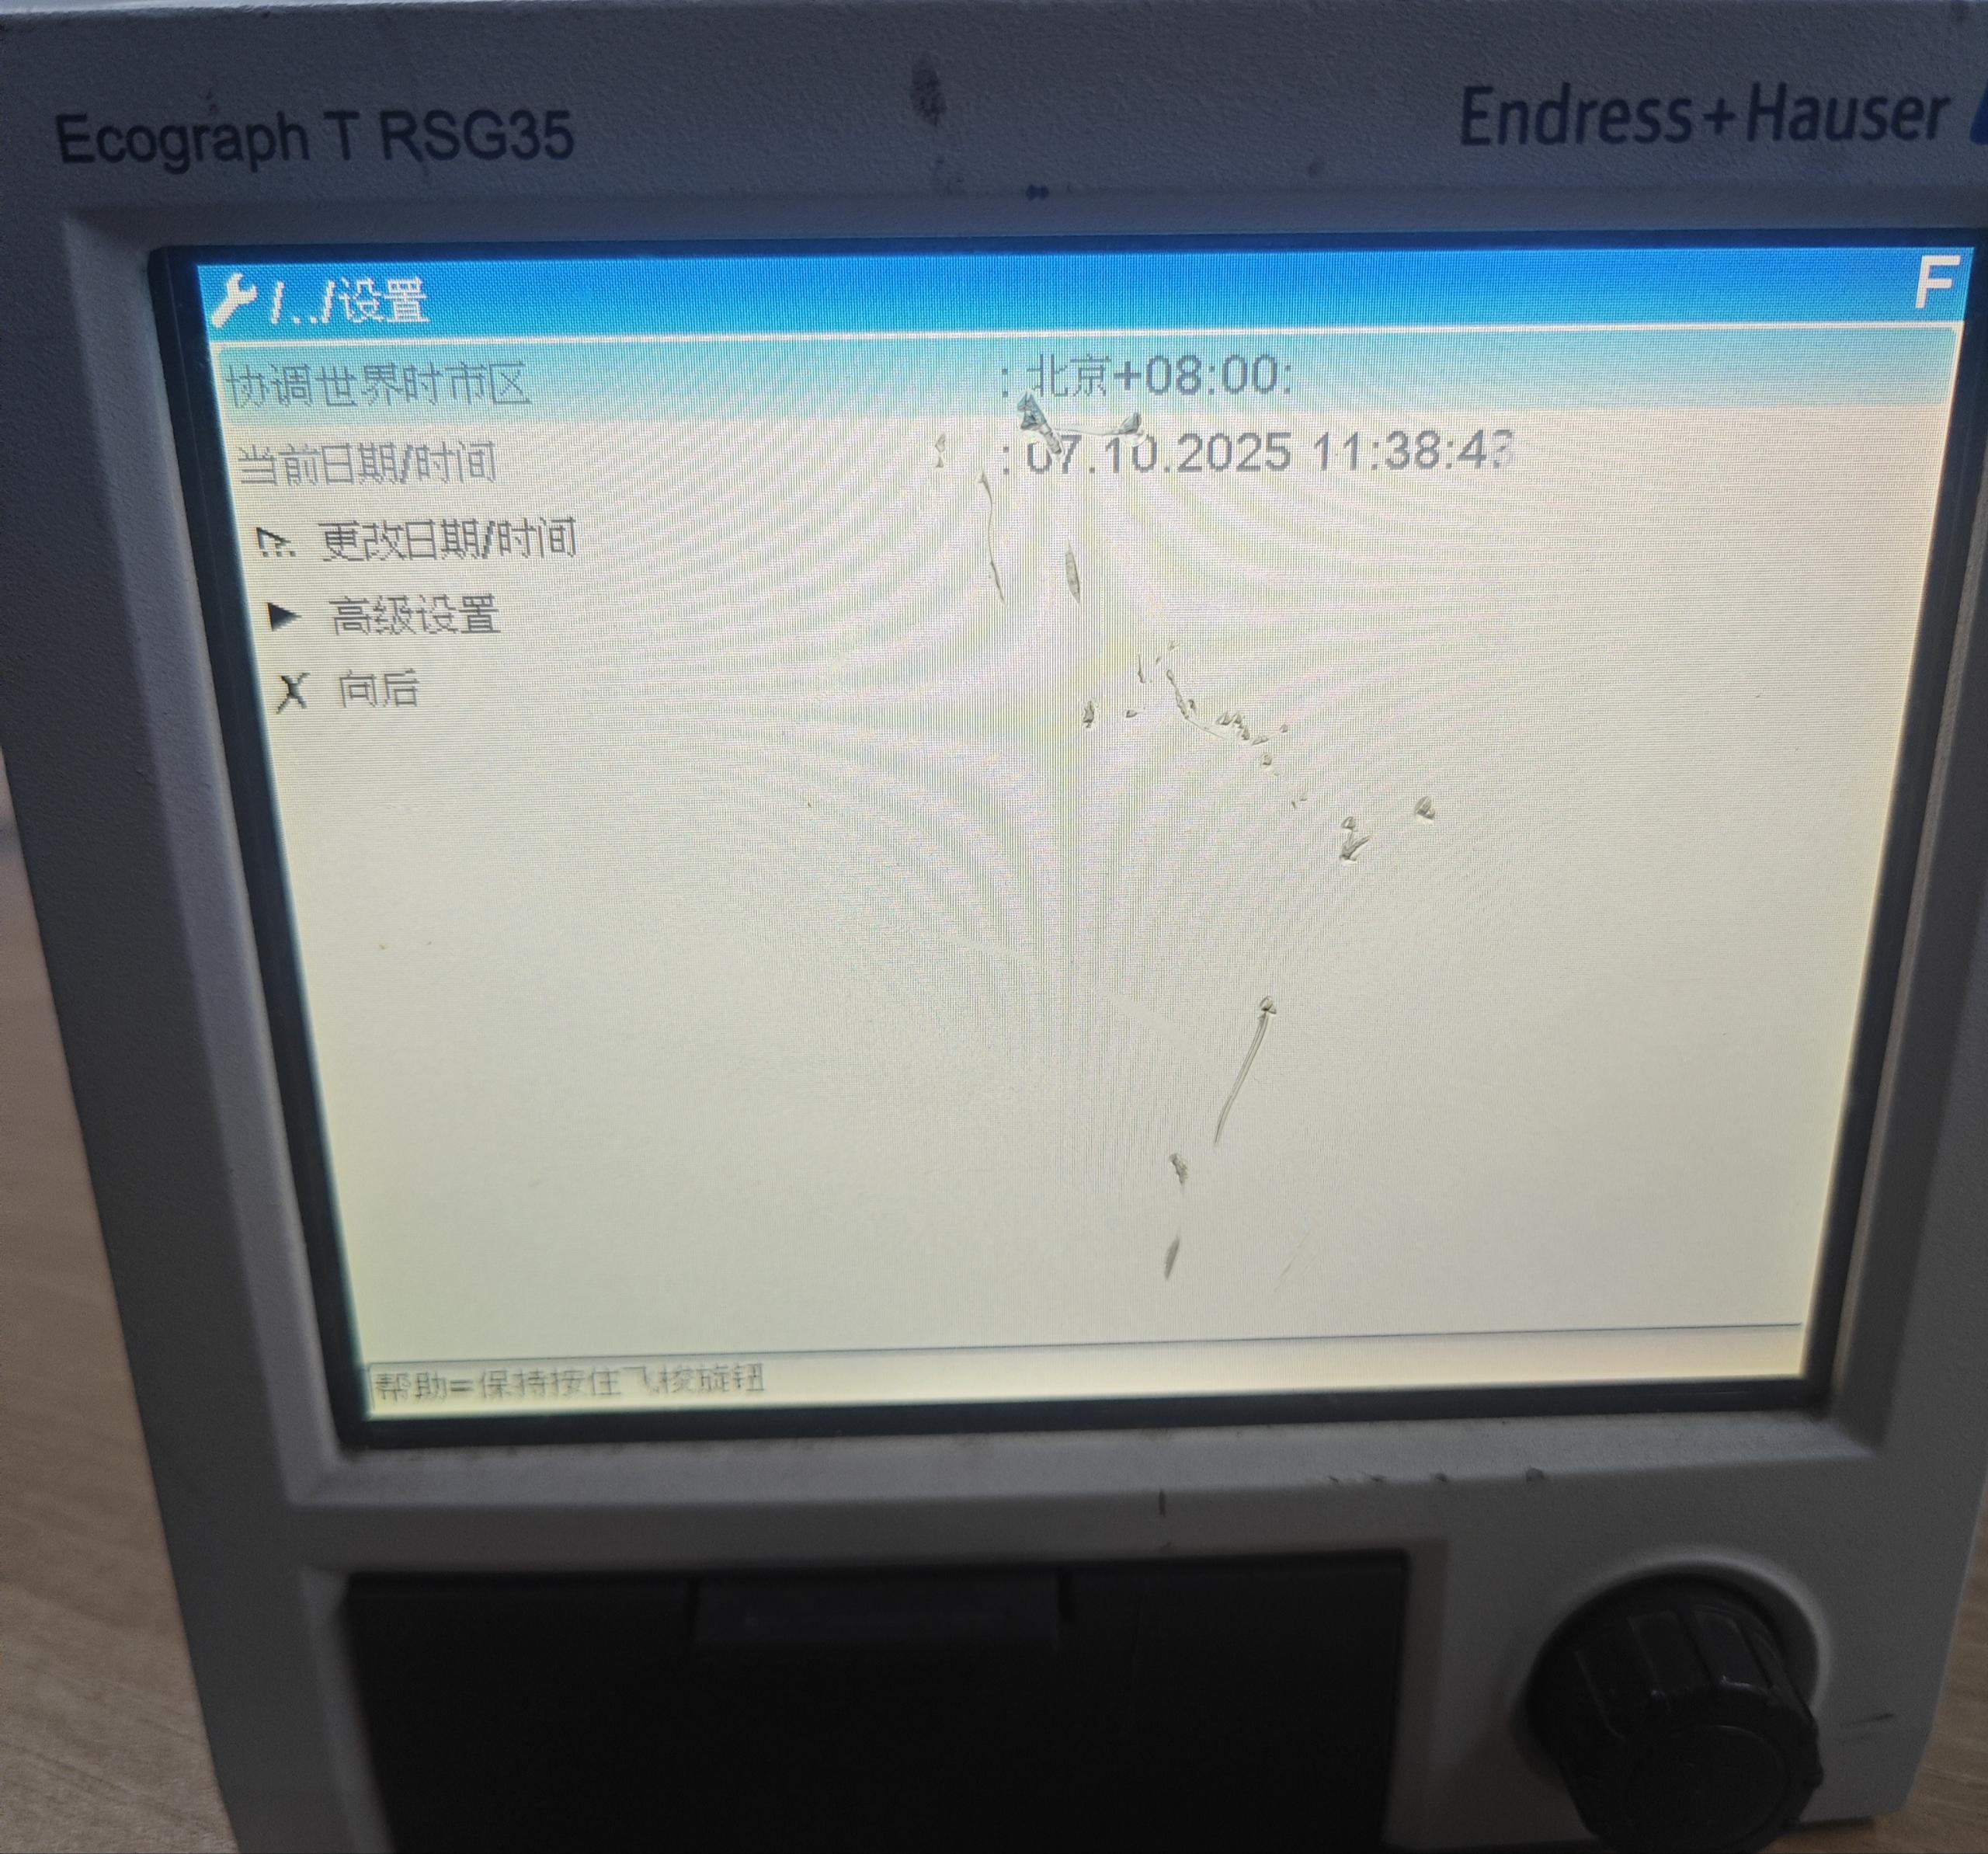
System Settings and Advanced Configuration
Enter settings to view the current time zone and time, and change the date and time as needed. Advanced settings allow configuration of the system, inputs, outputs, communication, and applications.
System Settings
In system settings, you can change parameters such as the instrument name, temperature unit, decimal point type, switch misoperation, and keyboard layout. Date and time settings can adjust the date, time, and format. Security settings can add access passwords. External memory can select the data storage location and storage method. In the information field, confirmation messages can be saved. Screen saver settings can change the screen saver time as needed.
Input Settings
Input settings include universal input and digital input. Universal input is the analog input port to which the transmitter is connected. Click Universal Input 1 to view and modify the following parameters:
| Parameter | Description |
|---|---|
| Measurement range | Display the current measurement range |
| Channel name | Customize the channel name |
| Engineering unit | Set the measurement unit |
| Measurement type | Select the input signal type |
| Decimal point | Set the number of decimal places |
| Lower/upper range limit | Set the range limits |
| Lower/upper scaling limit | Set the scaling range |
| Damping time | Set the damping time constant |
| Integration calculation | Enable the integration function |
| Copy settings | Copy the current settings to other channels |
Other universal inputs are set in the same way.
Output Settings
Output settings are relay output settings, which allow naming and configuration of the relay switches to be used.
Communication Settings
Communication settings can enable the device's Ethernet connection.
Application Settings
Application settings can select signal analysis and configure it according to actual needs. Setpoints can set alarm limit values for the data recorder and support multiple setpoints. Signal groups are groups of displayed values on the main measurement interface.
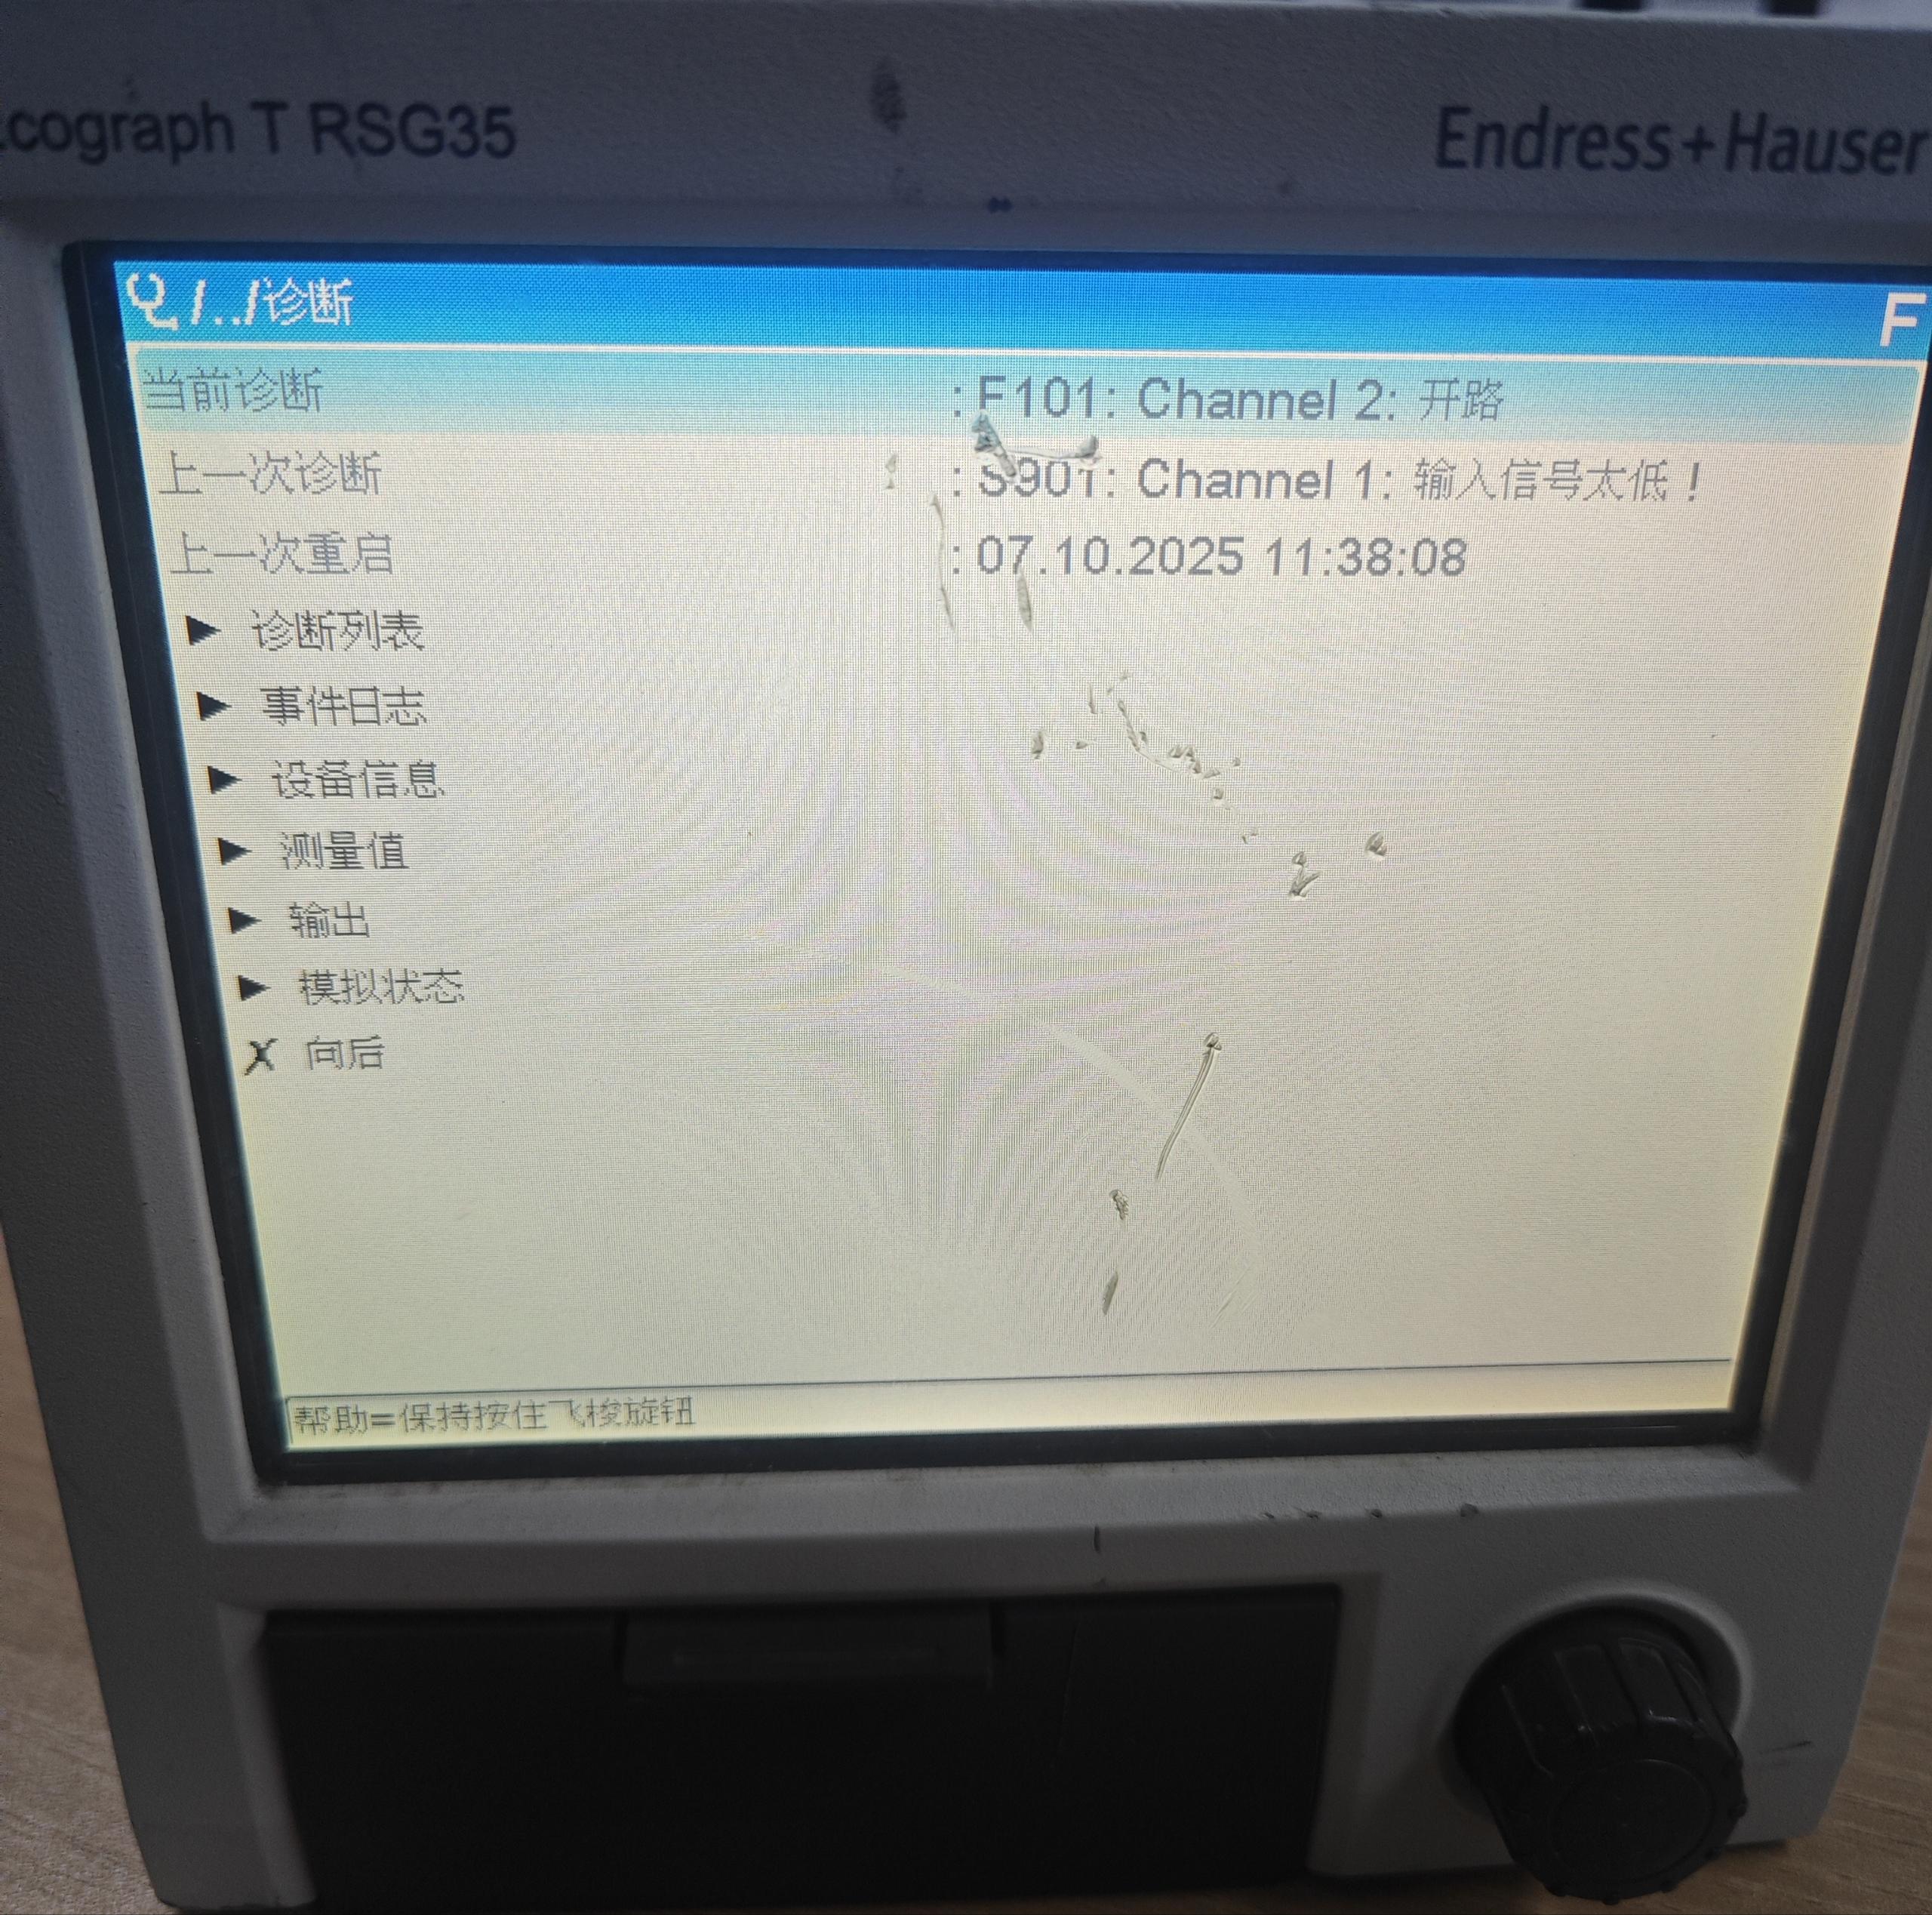
Diagnostics and Device Information
The diagnostics menu bar provides device status and troubleshooting information.
- Current diagnostics: View the current diagnostic status.
- Last diagnostics: View the previous diagnostic result.
- Last restart time: Record the date and time of the last restart.
- Diagnostics list: Record diagnostic error messages of the data recorder.
- Event log: Automatically record instrument usage events and sent events.
- Device information: View basic RSG35 information, such as serial number, order number, version number, manufacturer ID, and Ethernet IP address.
- Hardware information: View battery main voltage, RTC runtime, instrument runtime, etc.
- Measured values: Select the measured values displayed on the main screen.
- Simulation status: Perform simulation tests on the device, such as simulating relay opening.
- Expert mode: The default password is four zeros; other advanced options can be set.